How to Plumb a Bathroom Sink: Step-by-Step DIY Guide
Tools and Materials Needed
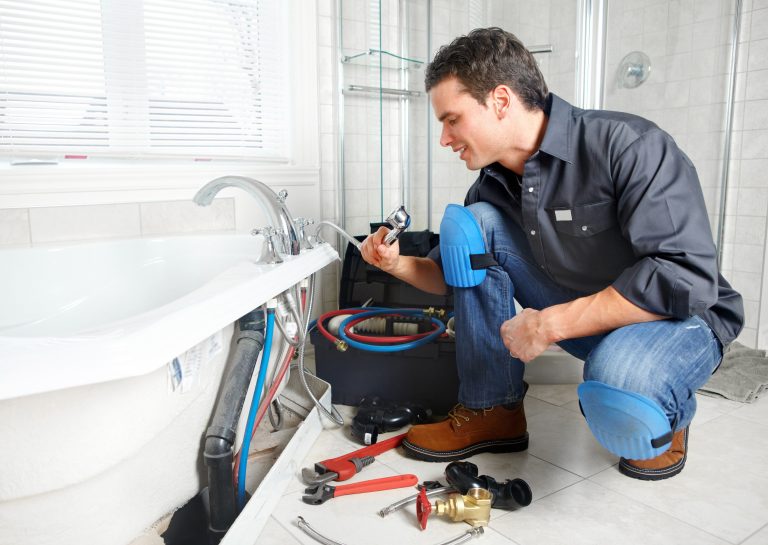
Before you start your bathroom sink plumbing project, it’s essential to gather all the necessary tools and materials. Having the right equipment not only speeds up the process but also ensures every step of your bathroom sink installation is done safely and efficiently. Below you’ll find a beginner-friendly list, with explanations of what each item is used for:
- P-trap or S-trap: The curved plumbing pipe under your sink that prevents sewer gases from entering your bathroom.
- Trap adapter: Connects the P-trap to your existing drain outlet in the wall or floor.
- Pop-up drain assembly: The mechanism that allows you to open and close the basin drain.
- Tailpiece: Pipe that connects the sink drain to the P-trap.
- Gaskets and washers: Create watertight seals at all connections.
- Lock nuts: Secure fittings during installation.
- Plumber’s tape (Teflon tape): Wrap around threaded connections to prevent leaks.
- Slip joint pliers: Used for tightening fittings.
- Adjustable wrench: Essential for securing nuts and bolts.
- Pipe wrench: For stubborn, tight pipes.
- PVC pipe and fittings: If your waste pipe needs extending or adjusting.
- Faucet (mixer tap): Controls water flow to the sink.
- Basin waste: The outlet at the bottom of the sink bowl.
- Clamping plate: Holds the faucet or sink basin in place.
- Water supply lines (tap tails): Connect faucet to water shutoff valves.
- Towel and bucket: To catch water spills during plumbing installation.
- Safety gear: Gloves and safety glasses for protection.
Having these plumbing tools for bathroom sink projects not only makes installation easier but also helps prevent accidents. For a step-by-step guide for fixing drips, see our page on Leaking Faucet or Valve.
Preparing for Installation
Getting ready to plumb a bathroom sink is all about preparation. Proper planning avoids headaches later in the DIY bathroom plumbing process. Here’s what you need to do before you begin actual installation:
- Turn off the water supply: Locate and close both the hot and cold shutoff valves under your sink. If you don’t have shutoffs installed, turn off the main water valve.
- Clear the workspace: Remove items from under the sink cabinet for clear access. Place a towel and bucket below the pipes to catch any standing water when disconnecting old plumbing.
- Read all instructions: Review the manufacturer’s guides for your faucet, drain, and P-trap kit, as each model might have slight differences.
- Check all parts: Lay out every component and ensure you’re not missing any crucial pieces, such as gaskets, washers, or nuts.
- Inspect your existing plumbing: Look for corroded or damaged pipes that might need replacement before proceeding.
- Measure carefully: Confirm the distance from your drain outlet to your new sink (height and offset), so your P-trap or S-trap aligns correctly.
Proactive troubleshooting can prevent issues down the line. For clogs and stubborn backups, review Clogged Drain or Sewer Backup for expert tips.
Step-by-Step Plumbing Instructions
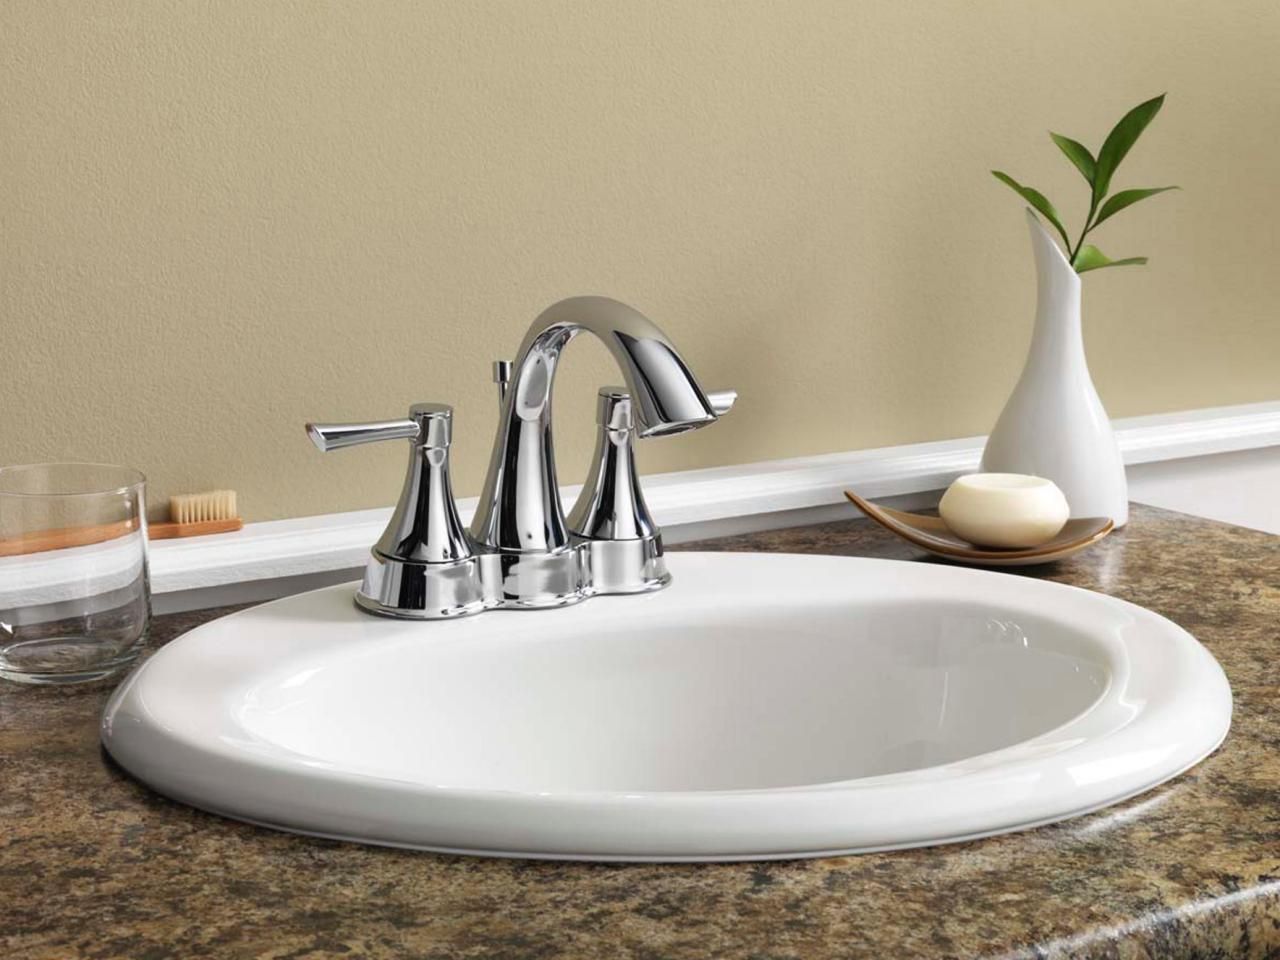
1. Install the Faucet
- Position the faucet: Place the mixer tap in the designated hole on your sink. Align the tap tails (water supply tubes) with the sink holes.
- Secure with the clamping plate: From under the sink, slide the clamping plate and lock nut onto the tap tails and tighten with an adjustable wrench.
- Connect water supply lines: Attach flexible hoses or rigid tap tails to the faucet’s bottom. Use plumber’s tape on any threaded fittings to prevent future leaks.
2. Attach the Basin Waste and Pop-up Drain
- Apply plumber’s putty or gasket: Place this between the basin waste flange and sink bottom for a watertight seal.
- Insert the pop-up drain assembly: Slide the tailpiece through the sink’s drain hole and tighten the lock nut from below.
- Attach the pop-up lever: Connect the lever bracket to the pop-up rod and test the open/close function.
3. Install the P-trap and Tailpiece
- Connect the tailpiece: Attach the tailpiece to the drain outlet and use slip joint washers to secure it.
- Assemble the P-trap: Position the P-trap (or S-trap in floor drains) under the tailpiece. Insert the trap adapter into the wall or floor waste pipe.
- Join the waste arm: Connect the waste arm from the P-trap to the outlet tee or wall fitting. Tighten all slip nuts by hand, then snug them up with pliers-do not overtighten.
4. Connect Water Supply Lines
- Attach supply hoses: Secure hot and cold supply hoses from the tap tails to the shutoff valves under the sink.
- Check all fittings: Ensure every connection is tight and sealed with plumber’s tape if necessary.
5. Turn on the Water and Test
- Open shutoff valves: Slowly turn on the hot and cold valves under the sink.
- Test faucet and drain: Run water through the faucet and check the P-trap and drain connection for leaks.
- Check the pop-up drain: Verify the drain closes and opens smoothly.
If you encounter issues like leaks around fittings, refer to our tips about Leaking Faucet or Valve.
Common Mistakes and How to Avoid Them
- Installing the P-trap backward: The curved part of the trap must face the correct direction, or you risk poor drainage and vapor lock.
- Overtightening nuts: Excess force can crack PVC pipes and deform gaskets, leading to leaks. Always tighten just until snug.
- Forgetting plumber’s tape: Apply Teflon tape to all threaded metal joints to prevent seeping leaks, especially at faucet connections.
- Missing washers or gaskets: Always include washers/gaskets at each slip joint and under drain flanges for a proper seal.
- Incorrect pipe alignment: Measure your waste arm and tailpiece lengths so that the P-trap sits horizontally, preventing standing water and clogs.
- Skipping leak tests: Always run water and check each joint after plumbing installation before closing up cabinets or sealing surfaces.
If your home is susceptible to winter issues, don’t forget our guide to Frozen Pipes for preventative steps during colder months.
Troubleshooting Leaks and Issues
Even with careful installation, leaks can occur in any bathroom sink plumbing setup. Here’s how to identify and fix the most common problems:
- Dripping at P-trap joints: Disassemble and inspect for misshapen washers. Replace with new ones and ensure all pipes are straight before tightening the slip nuts.
- Leaking supply line connections: Turn off the valves, disconnect the hoses, and wrap plumber’s tape more tightly around threads before reconnecting.
- Water under the sink (slow leaks): Dry the area thoroughly, then run water and monitor for slow drips. Trace the leak to the source-often, it’s the tailpiece or the drain flange.
- Standing water in the sink: If water drains slowly, your P-trap or tailpiece may not have enough slope or may be blocked by debris. Remove and clean all drain parts.
If your troubleshooting points to severe blockages, our writeup on Clogged Drain or Sewer Backup has you covered. For stubborn drips, revisit Leaking Faucet or Valve for solutions.
- Faucet leaks at the base: Often due to a worn gasket or improper tightening of the clamping plate. Disassemble, replace faulty parts, and re-tighten carefully.
- Odor from drain: Typically caused by an empty or leaking P-trap. Make sure the trap contains water and there are no cracks.
If no hot water reaches your sink, the issue could be with your heater-see Water Heater Problems for next steps.
Safety Tips for DIY Plumbing
DIY bathroom sink installation can be straightforward when done safely. Always keep these tips in mind:
- Wear gloves and eye protection: Prevents injuries from sharp pipes and protects against harsh cleaning chemicals.
- Use tools properly: Refer to online tutorials and manuals-misuse of wrenches or pliers can lead to hand injuries or broken fittings.
- Do not force tight fittings: If a nut or pipe is difficult to turn, check for threads or debris-forcing parts can cause fractures and leaks.
- Turn off water before working: This prevents accidental flooding or water damage in your home.
- Keep the workspace dry: Wet floors increase slip-and-fall hazards and make tool handling difficult.
- Check for electrical hazards: Avoid wetting electrical outlets, and if possible, switch off power to outlets beneath the sink area during work.
- Prepare for emergencies: Know where your main shutoff valve is, and review our guide on Toilet Overflow and Leaking Faucet or Valve for quick response tips to common issues.
By caring for your plumbing tools and understanding the parts in your bathroom sink installation, you ensure a safe and successful DIY project every time.