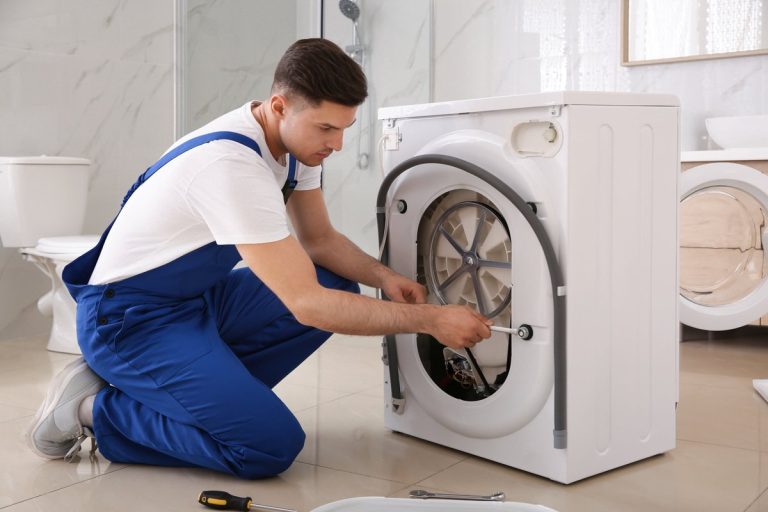
How to Install Plumbing for a Tub: DIY Step-by-Step Guide
Essential Tools and Materials for Tub Plumbing
Before you start to install bathtub plumbing, having the right tools and materials on hand is crucial for a smooth and safe DIY project. Here’s a checklist you can print or screenshot:
- ABS or PVC pipes and compatible compression fittings
- Bathtub drain assembly and overflow pipe
- Basin wrench, channel lock pliers, and adjustable wrench
- Plumber’s tape and plumber’s putty
- Silicone caulk and caulking gun
- Galvanized screws and/or nails
- Level, measuring tape, and pencil
- Mortar (for securing tubs to the floor if needed)
- Shims and subfloor patching supplies
- P-Trap for the waste line
- Safety gloves and eye protection
- Stud finder and drill
These tools will help you handle typical tasks such as bathtub drain installation, anchoring the tub, and connecting your water supply lines. For more information on selecting and using these tools with plumbing fixtures, see our article on how to plumb a bathroom sink.
Preparing Your Bathroom for Tub Installation
Proper preparation ensures your project will be successful and minimizes risk of leaks and future repairs. Here’s what to check and accomplish before bringing the tub into position:
- Inspect the subfloor: Ensure it’s clean, level, and strong enough to support the new bathtub. Patch any weak spots and dry any moisture.
- Check the framing and studs: Studs should be exposed where tub fasteners or flange will anchor. If walls are unfinished, mark their locations for later reference.
- Map out drain and supply locations: Mark out where the waste, overflow, and water supply lines need to be positioned in relation to the tub design.
- Dry fit the tub: Place the tub in the intended spot to check for alignment with your plumbing – especially the drain hole and overflow cutout.
- Gather safety essentials: Safety glasses, gloves, and a clear workspace are musts. Be aware of electrical lines and existing pipes.
Preparation reduces the risk of mistakes when you install bathtub plumbing and helps ensure the installation process goes smoothly.
Step 1: Mark and Cut for Drain and Water Supply
Begin your DIY tub plumbing by laying out where every pipe connection will go. This step is critical for correct fit and future leak prevention.
- Position the tub in its final spot. Use a pencil to mark the location of the drain hole and overflow hole on the subfloor or floor slab.
- Measure distances for the hot and cold water supply lines. Mark the pipe entry points on the wall or floor.
- Remove the tub and use an appropriate saw to cut holes for the drain and supply lines. Always check below the surface for wires or other pipes before cutting.
- Dry fit the drain assembly and overflow pipe through the holes to confirm correct placement-adjust as needed.
Accurate marking and drilling at this stage speeds up later steps, especially during the bathtub drain installation and bathtub overflow installation.
Step 2: Install the Bathtub Drain and Overflow Assembly
This is the heart of how to plumb a tub. The drain assembly includes the locking nut, gasket, drain flange, and overflow plate. For best results, follow these detailed steps:
- Roll a thin rope of plumber’s putty or use a bead of silicone caulk around the underside of the drain flange to form a watertight seal.
- Insert the drain body into the tub’s drain opening from inside the tub. Tighten the nut from below, ensuring the gasket is firmly seated against the tub underside.
- Assemble the overflow pipe. Insert the rubber gasket between the overflow opening and the rear of the tub. Screw the overflow plate into place, attaching the pipe firmly.
- Double-check all seals. Use plumber’s tape on threaded connections for extra leak protection.
Properly sealing these junctions is crucial. For additional tips on sealing similar fixtures, visit our tutorial on stopping a leaking faucet or valve.
Step 3: Connect the P-Trap and Drain Line
The P-trap is essential for preventing sewer gases from entering your home. Here’s how to connect it and test for leaks in the bathtub plumbing:
- Attach the P-trap to the drain tailpiece using a slip nut and washer. Make sure the curved section of the P-trap faces down and aligns with the drain line.
- Connect the horizontal arm of the P-trap to the drain line leading out to the main waste stack. Use compression fittings for a secure, yet adjustable, joint.
- Hand-tighten all connections, then snug up with pliers. Avoid overtightening to prevent damage to the pipes or cross-threading.
- Fill the tub with a few inches of water and visually inspect the connections for leaks. This “wet test” is one of the most important ways to test for leaks bathtub.
Mistakes here are a common cause of serious water damage. If your drain line feels loose or the P-trap does not align perfectly, shims and minor adjustments to the ABS/PVC pipe length may be required. For guidelines similar to connecting bathroom sinks, see our step-by-step bathroom sink plumbing guide.
Step 4: Secure and Level the Bathtub
The longevity and safety of your installation depend on how well you anchor and level the tub. Here’s the best DIY approach:
- Spread a thin layer of mortar (if recommended by manufacturer) on the subfloor where the tub will rest. This prevents movement and provides extra support beneath the tub base.
- Lower the tub into position, ensuring drain and overflow lines align perfectly with pre-cut holes.
- Check the tub’s level side-to-side and front-to-back using a spirit level. Adjust with shims as necessary to maintain even support on all corners.
- Fasten the tub flange to wall studs with galvanized screws or nails. Don’t overtighten-this could crack the tub lip.
Proper leveling is a must to prevent future cracks and facilitate draining. At this stage, make sure not to block access to areas where you may need to repair a burst pipe in emergencies.
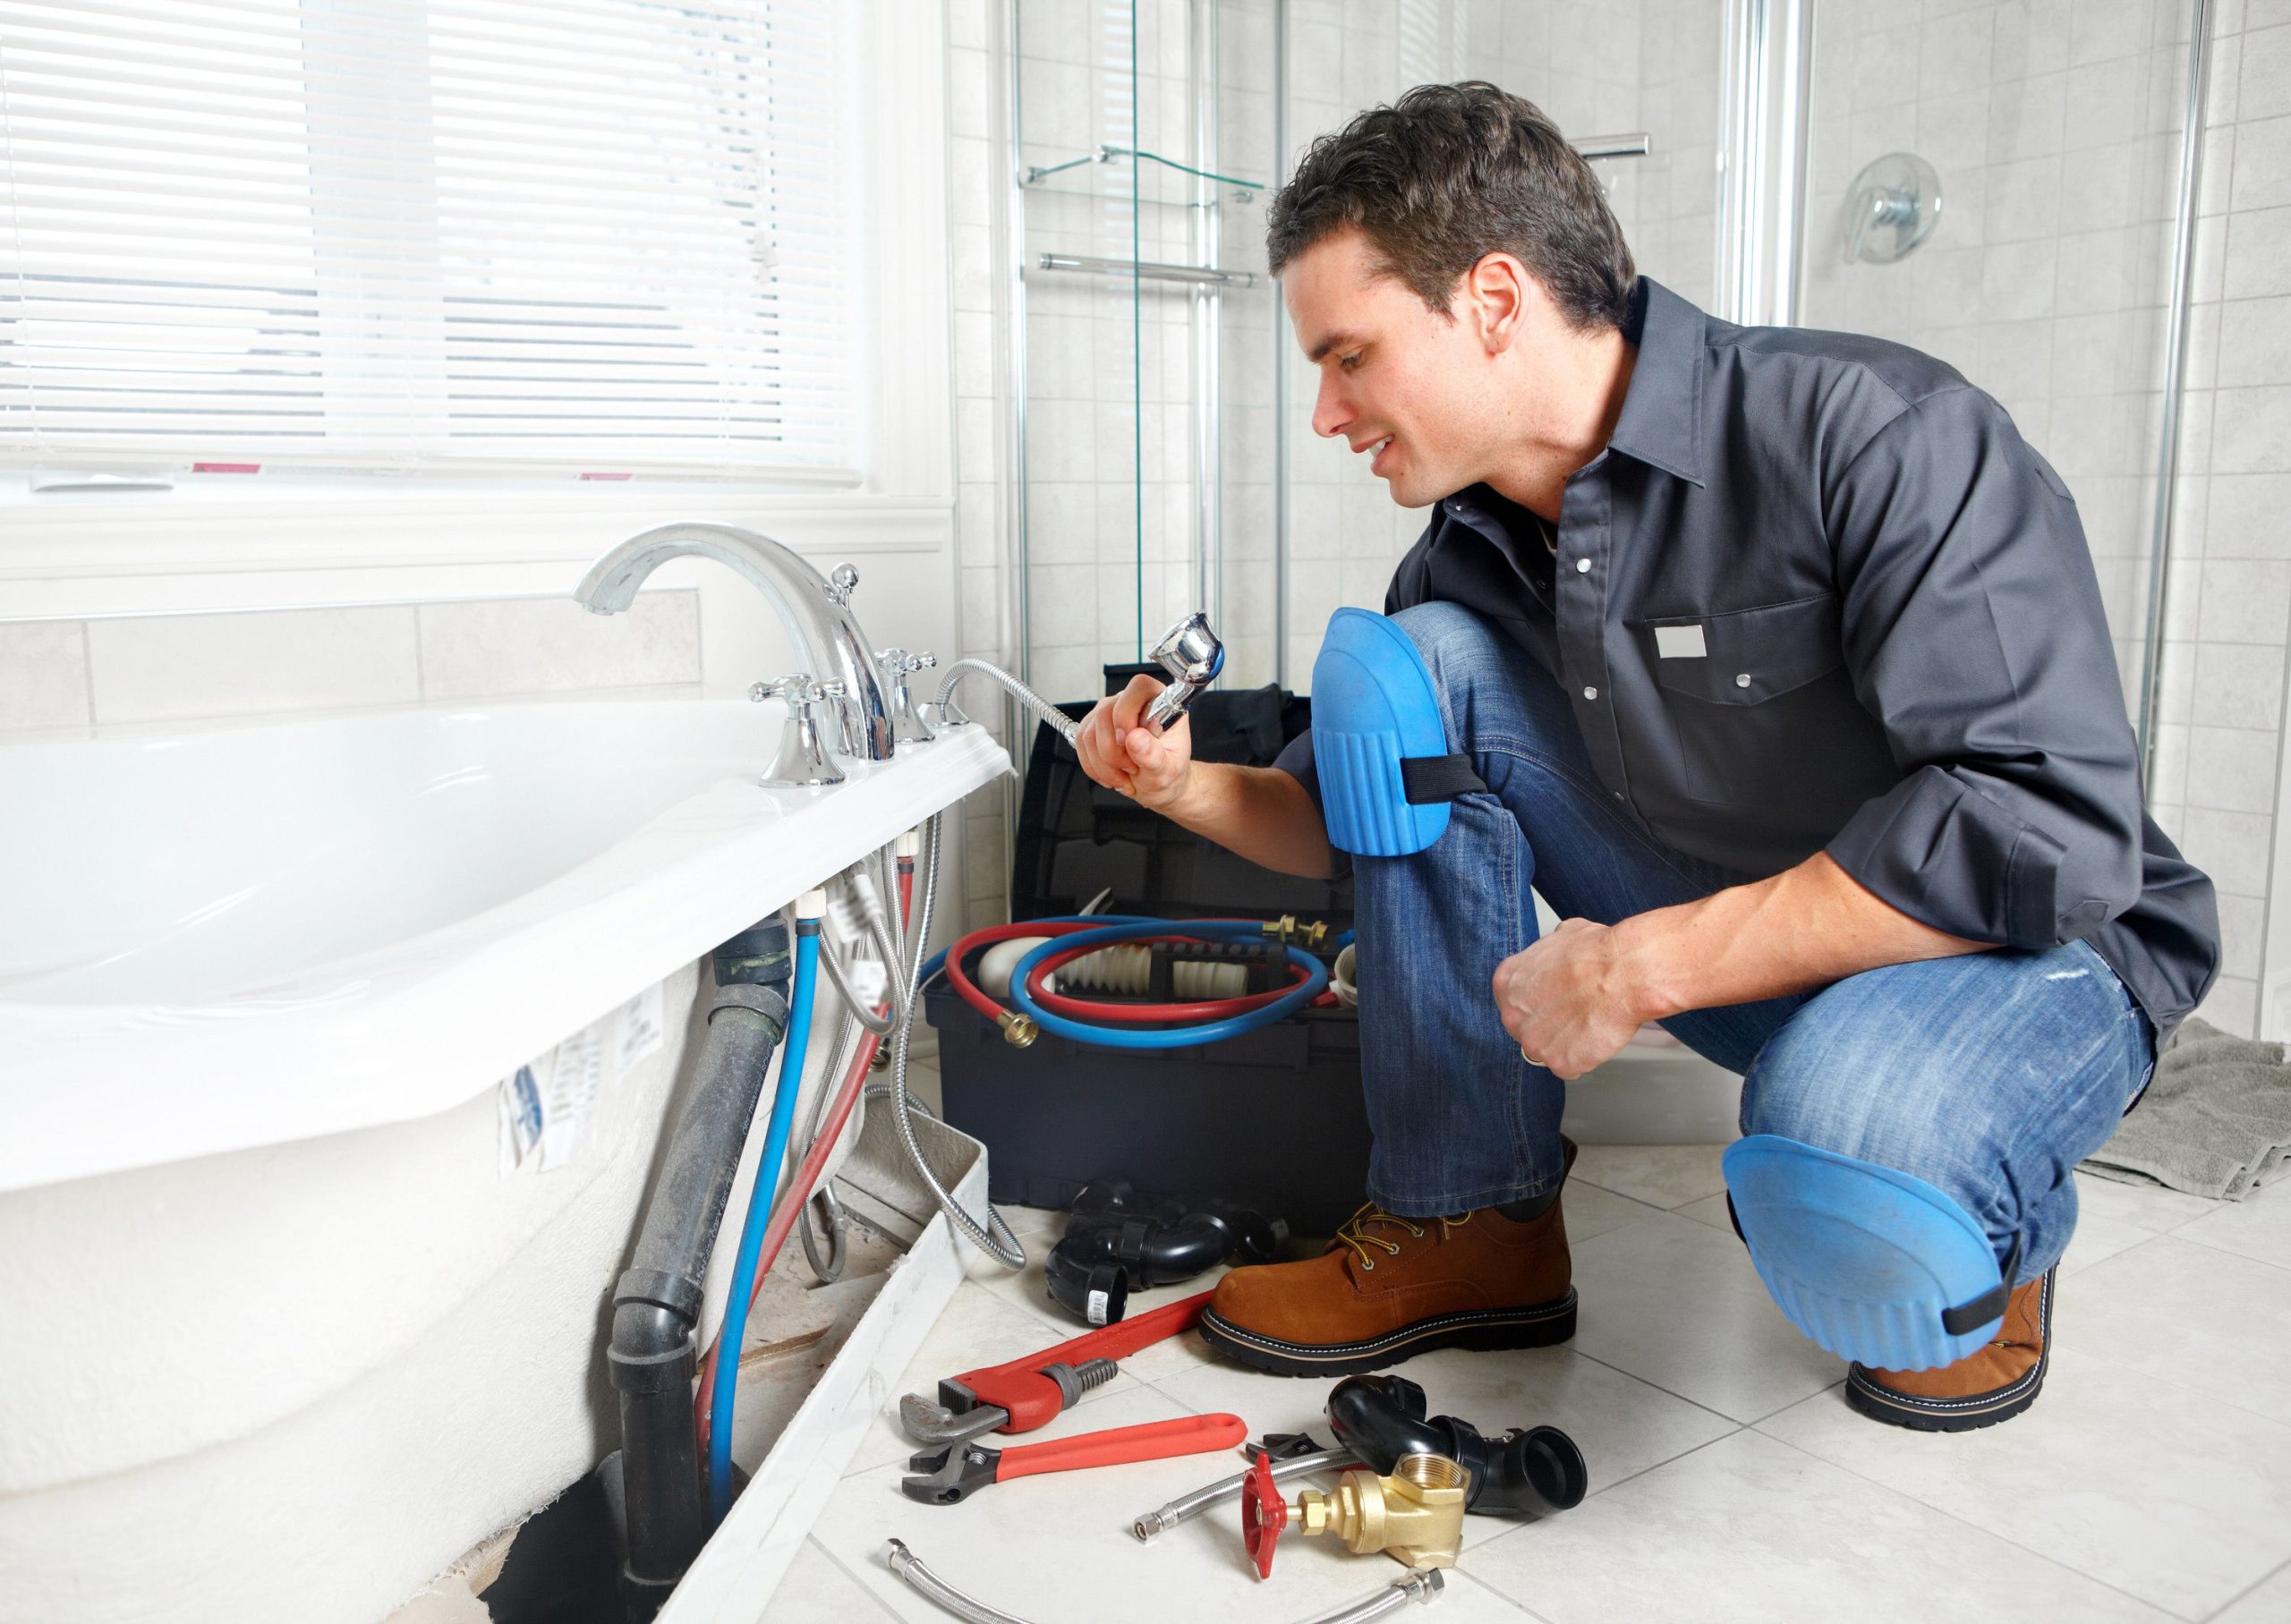
Step 5: Connect Water Supply Lines and Test for Leaks
Connecting water is a moment of truth in any DIY tub plumbing project. Do the following:
- Cut the copper, PEX, or CPVC water supply lines to length, removing burrs from ends.
- Attach lines to the tub’s hot and cold inputs using appropriate compression fittings, tightening snuggly.
- Wrap all threaded joints in plumber’s tape before tightening to prevent leaks.
- Open main water valve and run both hot and cold for several minutes. Watch every connection for drips or puddles.
- Wipe each joint dry and repeat check. If you see persistent leaks, shut off supply and re-tighten or re-seat fitting as needed.
If you notice water temperature issues during this phase, it might indicate a problem upstream-see our advice in what to do when there’s no hot water.
Step 6: Seal, Finish, and Inspect Your Work
Seal every tub-to-wall and floor joint to block water intrusion and mold growth. Here’s how to finish up your bathtub drain installation and protect your bathroom:
- Apply a continuous bead of silicone caulk along the seam between the tub and wall surround. Smooth with a wet finger or round tool.
- Seal any visible gaps at the tub base or between tile and tub. Use water-resistant caulk only.
- Allow caulk and mortar to cure according to product instructions (typically 24 hours).
- Inspect your finished work for wobbling, improper alignment, or missed sealing points.
- Print a copy of your steps and check each off as you inspect-this prevents missed details that could cause future bathtub overflow installation issues.
For persistent sealing or leak problems, refer to our advice on what to do if a valve won’t stop dripping.
Troubleshooting Common Tub Plumbing Issues
Even well-installed tubs can develop problems. Here’s a quick-reference table:
| Problem | DIY Solution | Reference |
|---|---|---|
| Drain leaks | Check plumber’s putty or silicone seal, re-tighten drain nut | Sink Plumbing |
| Overflow leaks | Tighten overflow plate, check gasket | This Guide |
| P-trap odor or backup | Remove and clean trap, re-align | This Guide |
| No hot water | See water heater troubleshooting | No Hot Water |
| Burst supply line | Shut off water and repair line | Burst Pipe |
| Toilet overflow from drain backup | Test and clear main line | Toilet Overflow |
Always test for leaks bathtub thoroughly. Early leak detection is essential to preventing extensive water damage and costly repairs.
When to Call a Professional Plumber
If you’ve followed this step-by-step guide for how to plumb a tub but still experience persistent leaks, poor drainage, or cannot identify the problem, it’s time to consult a licensed plumber. Complex issues with older homes, limited access to waste lines, or repeated bathtub drain installation failures often require pro intervention. For those facing plumbing emergencies-like a leaking supply valve or burst line-review essential tips in our guides about persistent leaking faucets and burst pipe repair. Calling a professional ensures your home’s plumbing remains safe, code-compliant, and leak-free.