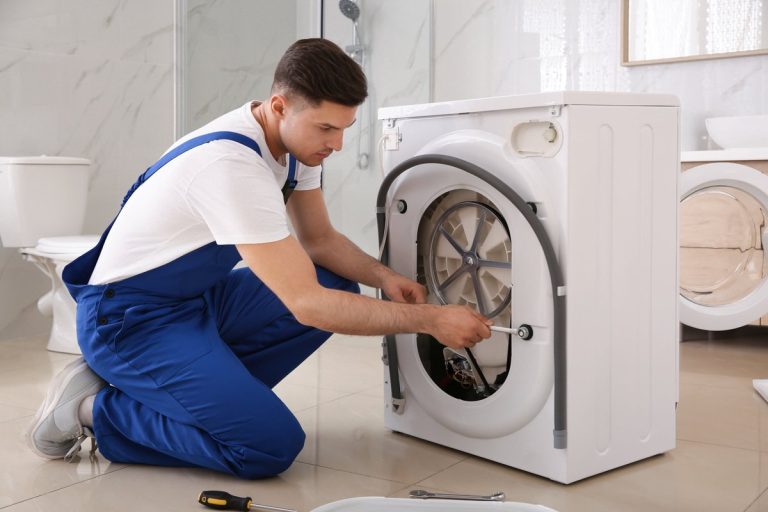
How to Install Dishwasher Plumbing: Step-by-Step Guide
What You Need Before You Start
Proper preparation is key to a smooth dishwasher installation guide. Before installing dishwasher plumbing, gather all tools and materials and understand the plumbing code requirements relevant to your location.
Tools and Materials List
- Adjustable wrench and pliers
- Screwdrivers (Phillips and Flathead)
- Drill with hole saw attachment
- Teflon tape for leak-proof seals
- 90-degree elbow fitting (usually brass or stainless steel)
- Dishwasher water supply line (often a braided hose)
- Compression nut and rubber washer
- New dishwasher drain hose
- Zip ties or hose clamps
- Voltage tester
- Shut-off valve (if needed)
- Level and measuring tape
- Sponge and towels (for cleanup)
Check Local Plumbing Code
Confirm if you need an air gap or high loop for your dishwasher drain hose. Code compliance ensures your home is protected from backflow and meets insurance/builder standards. For more code insight and plumbing troubleshooting, see our guide on clogged drain or sewer backup issues.
Preparing the Space
Safety, access, and alignment are critical for every dishwasher plumbing hookup.
1. Shut Off Water and Electricity
- Turn off the kitchen circuit at your breaker box.
- Locate and close the shut-off valve under the sink.
2. Measure the Cabinet Opening
- Check that the cabinet opening matches manufacturer specs and allows room for hoses. Clean out all debris or old fasteners.
3. Plan Hose Routing
- Identify where the water supply line and drain hose will enter.
- Drill a 2-inch hole if your dishwasher is far from the sink base. Use a hole saw and sand the edges to prevent cutting hoses.
Pro Tip
Compare your prep to other plumbing projects-see how prepping for a bathroom sink installation differs from kitchen appliances.
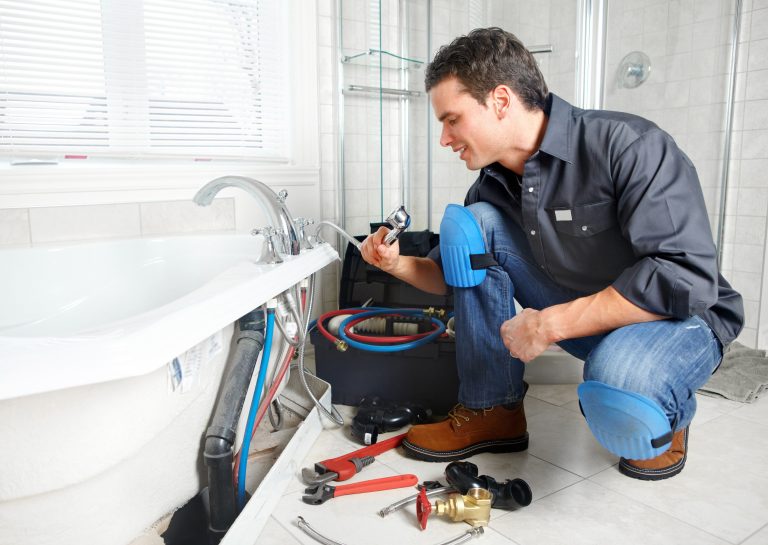
Installing the Water Supply Line
The dishwasher water supply line delivers clean water to your appliance. Most modern dishwashers use a stainless steel braided hose for durability and leak resistance.
1. Attach the 90-Degree Elbow Fitting
- Locate the water inlet under the dishwasher-usually at the front left or right corner.
- Wrap Teflon tape clockwise onto the fitting threads for a secure, leak-free connection.
- Screw on the 90-degree elbow fitting, tightening by hand and finishing with a wrench (about a 1/4 turn more).
2. Connect the Water Supply Line
- Thread the compression nut and rubber washer onto one end of the braided hose.
- Connect to the shut-off valve (usually a 3/8″ outlet under the sink).
- Attach the other end of the hose to the elbow on the dishwasher, again using the provided washer inside the fitting.
- Tighten all connections with an adjustable wrench, taking care not to overtighten.
Safety Reminder
Always check for leaks after turning the water back on. A steady drip may indicate a loose compression nut or missing washer. For persistent leaks, see our advice on dealing with leaking valves or faucets.
Code Compliance Note
Some areas require a dedicated shut-off valve for the dishwasher. Ask your local inspector or reference the dishwasher plumbing code for certainty.
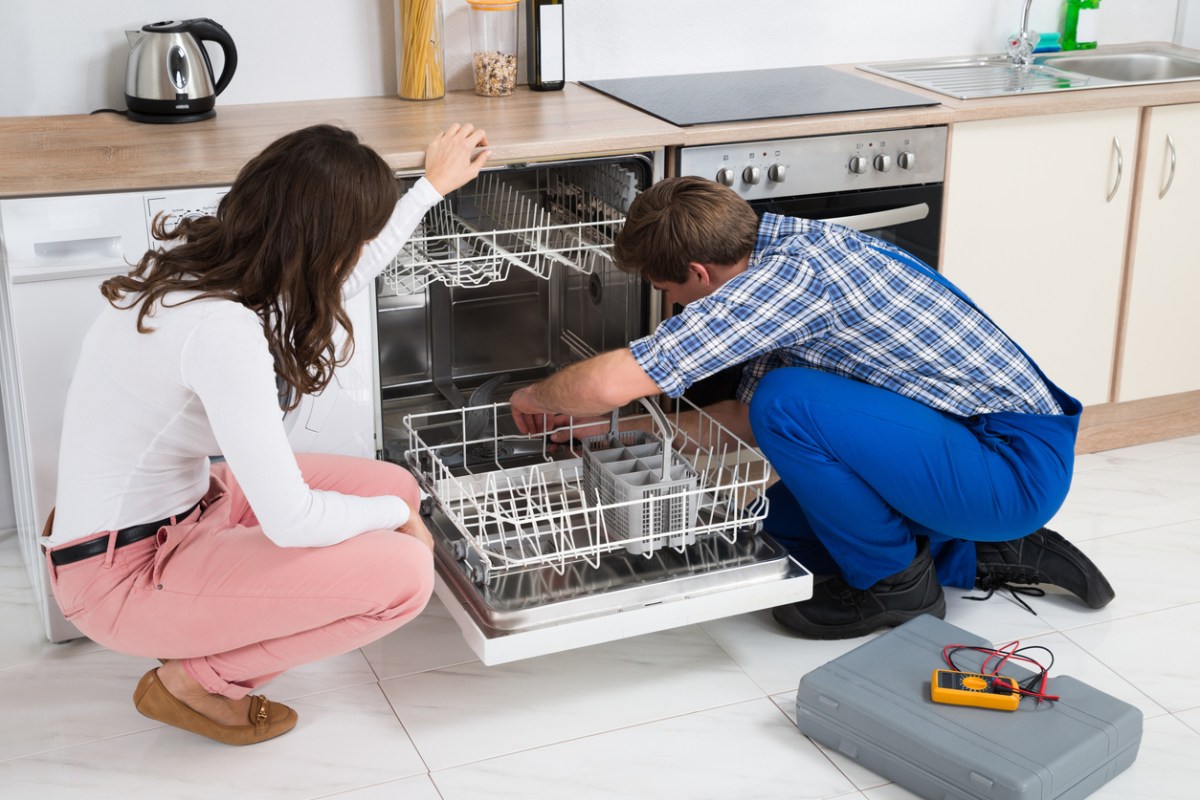
Connecting the Drain Hose
The dishwasher drain hose carries wastewater to the plumbing system. Correct routing and securing prevents clogs, smells, and backflow.
1. Attach to the Dishwasher
- Slide the hose onto the drain port and secure it with a clamp.
2. Route the Hose Using a High Loop or Air Gap
- High loop: Secure the hose at the highest point under the sink with a clamp or zip tie (just below the countertop). This prevents dirty water from siphoning into the dishwasher.
- Air gap: In some jurisdictions, a physical air gap device is required on the sink or countertop.
3. Connect to the Drain or Garbage Disposal
- If connecting to a garbage disposal, knock out and remove the plugged fitting inside the disposal’s dishwasher inlet before attaching the hose.
- Use a hose clamp to secure the connection, ensuring the rubber washer is seated correctly at any junctions.
- Alternatively, the hose can connect to a sink branch tailpiece, above the sink trap.
Code Compliance Reminder
Most plumbing codes require either a high loop or an air gap to prevent contaminated water from entering your appliance. Consult your dishwasher plumbing code or review examples in our washing machine drain plumbing guide.
Common Mistakes to Avoid
- Letting the hose sag below the sink’s P-trap (can cause standing water and odors).
- Forgetting to knock out the garbage disposal’s dishwasher plug.
- Failing to clamp hose connections securely.
Electrical Connections
A professional, code-compliant electrical hookup ensures safety and smooth operation. Most dishwashers are hard-wired or plugged into an outlet under the sink.
1. Check Power Requirements
- Verify your dishwasher’s electrical specs (usually on a label inside the door).
- Locate the dedicated 15-amp circuit (required by code).
2. Hardwiring or Plug Installation
- Hardwiring: Open the access panel on the dishwasher base. Run cable (Romex or armored) into the box using a strain relief connector.
- Outlet: If your model uses a plug, ensure there is a GFCI-protected outlet accessible from inside the cabinet.
3. Wire Connections
- Connect black (hot), white (neutral), and green or bare (ground) wires using wire nuts.
- Secure all wires and check with a voltage tester before reattaching the panel.
Safety and Code Reminder
Turn off the power at the breaker before working. If you’re unsure, hire a licensed electrician. For water-related electrical troubles, see what to do when there’s no hot water or a leak.
Final Steps and Testing
1. Slide in the Dishwasher
- Carefully guide hoses and cords through the cabinet opening while sliding the unit in.
- Check that the unit is level and adjust the feet as needed.
2. Secure the Dishwasher
- Use screws provided to anchor the top or sides of the appliance to the cabinet frame.
3. Turn on Water and Power
- Restore electricity at the breaker, and turn on the shut-off valve.
- Run a quick cycle to check for leaks under the sink and at every connection (leak check).
- Inspect for drips at the compression nuts, drain hose, and under the dishwasher.
Quick Troubleshooting
- If water pools under the dishwasher, re-check the tightness of every fitting.
- If water backs up in the sink, check that the drain hose is correctly looped and clear of clogs. See solutions for clogged drains and sewer backups if needed.
Frequently Asked Questions
Can I use any type of water supply line for my dishwasher?
A stainless steel braided hose is preferred for its durability and resistance to burst or leaks. Always use a new hose-never reuse an old one.
What’s the purpose of a high loop or air gap for the drain hose?
A high loop or air gap is mandated by most dishwasher plumbing codes to prevent dirty water from siphoning back into your dishwasher-protecting both your appliance and your drinking water supply.
How tight should compression nuts and fittings be?
Snug, but not overtight. Hand-tighten, then give an extra quarter turn with a wrench. Over-tightening can crimp washers and cause leaks.
Why is my dishwasher not draining?
This is usually due to a kinked, clogged, or improperly routed drain hose. Check hose height and connection to the garbage disposal or drain. See further advice on remedying clogged drains.
Do I need new shut-off valves?
If your under-sink shut-off valve is old or doesn’t fully stop water, replace it before installing a new dishwasher. Learn more about valve maintenance in our leaking faucet or valve guide.
Can I install a dishwasher myself if I’m new to plumbing?
Many confident DIYers complete installs successfully, especially with step-by-step instructions. Learning basic plumbing skills-like those in our bathroom sink DIY tutorial-can boost your confidence.