How to Install Plumbing for a Toilet: Step-by-Step Guide
Tools and Materials Needed
Before you start to install toilet plumbing, gathering all the essential tools and materials will help streamline the process and prevent the need for last-minute trips to the store. Here’s a comprehensive list catering to various skill levels and budgets:
- Toilet flange (PVC or metal, depending on drain pipe material)
- Wax ring (regular or reinforced)
- Closet bolts with washers and nuts
- Supply line (flexible braided hose or rigid)
- Shut-off valve (angle stop)
- Fill valve and flush valve (if replacing tank internals)
- Plumber’s tape (PTFE tape)
- PVC pipe, fittings, and primer/adhesive (for new installations or rerouting pipe)
- Level tool
- Pipe wrenches, adjustable wrench, and screwdrivers
- Putty knife and sealant (silicone or plumber’s)
- Hacksaw or pipe cutter
- Measuring tape
- Towels and a small bucket (for water cleanup)
- Replacement tank bolts (if rusted/damaged)
- P-trap (if connecting to a new system)
- Vent pipe (as required by plumbing code)
Pro tip: Have extra wax rings and closet bolts on hand for unexpected issues. Consider browsing our guide on dealing with clogged drains if you anticipate encountering existing drainage problems during your installation.
Preparing the Bathroom for Toilet Plumbing
Proper preparation ensures your project runs smoothly, reduces the risk of leaks, and keeps you safe. Here are the necessary steps to get your bathroom ready for new toilet plumbing:
- Turn off the water supply. Locate the bathroom’s shut-off valve or main water shut-off. Drain the toilet and disconnect the water supply line using an adjustable wrench.
- Remove the old toilet (if replacing). Unbolt the toilet using a wrench, gently rock it side-to-side to break the wax ring’s seal, and lift the toilet free. Plug the drain opening with a rag to block sewer gases.
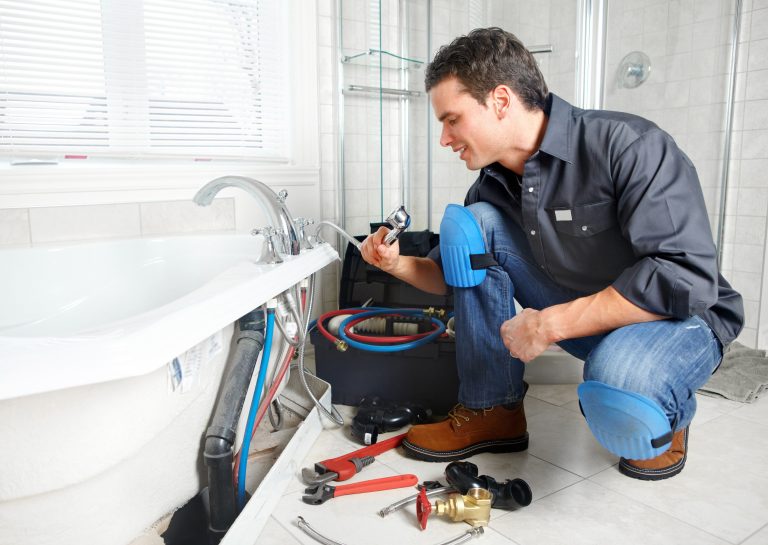
- Inspect the drain pipe and flange. Remove debris and verify the toilet flange is level, undamaged, and securely anchored. Replace damaged or corroded flanges before proceeding. For detailed techniques on working with plumbing connections, review our bathtub plumbing guide.
- Measure and plan layout. Check rough-in dimensions (distance from wall to center of flange) and ensure adequate space for the toilet, supply line, and shut-off valve. Sketch or mark locations for the drain, vent pipe, and supply connections.
- Check ventilation needs. Modern codes require a vent pipe for every toilet to prevent trap siphoning and odors. Plan venting routes if building from scratch or remodeling.
Use a level tool to ensure the subfloor and flange are perpendicular for a watertight seal. Address any unevenness before proceeding with drainage installation.
Installing the Toilet Drain (Flange and Waste Pipe)
Proper installation of the toilet flange and drain connection is crucial for leak prevention and long-term performance. Here’s a detailed, step-by-step guide:
- Dry-fit the flange over the waste pipe to verify alignment and height relative to the finished floor. The top of the flange should sit flush with the floor surface. Adjust with flange extenders or shims if needed.
- Secure the toilet flange using screws or anchors driven into the subfloor. For PVC pipe, apply PVC primer and cement before inserting the flange for a permanent seal. Metal flanges should be checked for rust or pitting.
- Install the waste pipe (if required). For new installations, assemble the correct length of PVC pipe to connect to the home’s main drain line. Include a P-trap if this is a new branch. Follow all relevant local codes for sizing, slope (typically 1/4″ per foot), and joining methods.
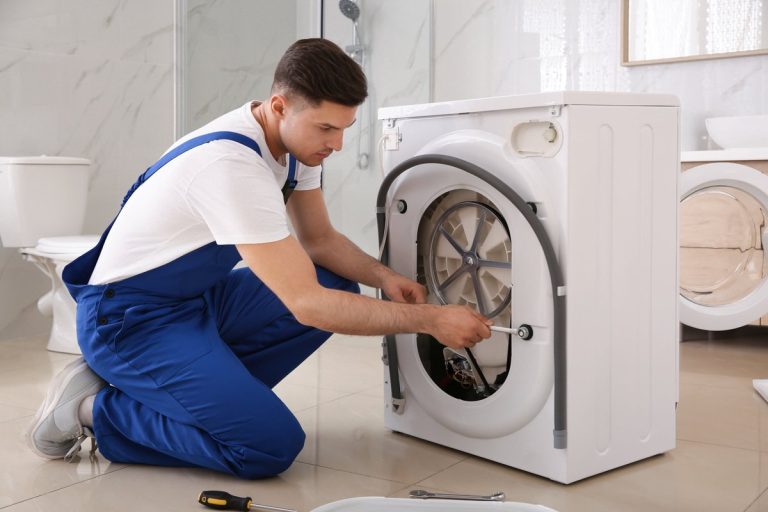
- Attach the vent pipe to the waste line as required. A properly installed vent pipe prevents sewer gases and ensures efficient drainage. For detailed examples of drainage and venting connections, check out our washing machine drain installation guide.
- Dry test the connection by pouring water down the exposed waste pipe. Ensure there’s no leakage at joints or at the flange to subfloor interface. Inspect for proper drainage and adjust as needed.
Pro tip: Use a generous amount of plumber’s tape on threaded adapters, and always double-check that the flange bolt slots are correctly oriented for toilet mounting.
Connecting the Water Supply Line
Reliable supply line installation is vital for bathroom plumbing and leak prevention. Follow these steps:
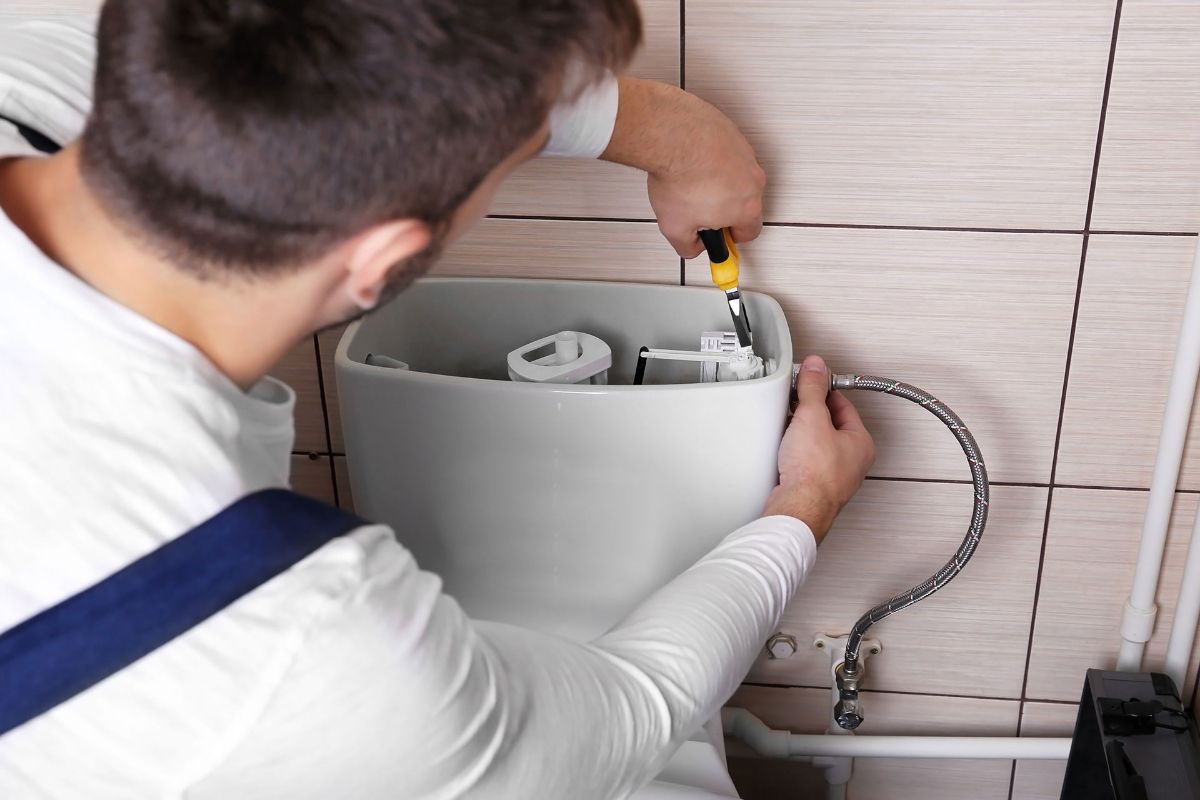
- Install or replace the shut-off valve. If your shut-off valve is aged or corroded, swap it out for a new, quarter-turn angle stop. Apply plumber’s tape to threaded connections for a watertight fit.
- Connect the supply line from the shut-off valve to the bottom of the toilet tank’s fill valve. Use a flex hose for easy DIY installation, ensuring both ends have fresh rubber washers in place.
- Hand-tighten fittings and use a wrench for a final snug-avoid overtightening, which can damage connections or strip threads.
- Inspect for leaks by briefly turning on the shut-off valve after assembly. If moisture appears, reapply plumber’s tape or replace washers as needed.
- Test the fill valve by flushing the toilet several times. Ensure quick tank refilling and absence of drip at both the valve and tank fittings.
Whenever handling pressurized water connections, keep towels and a bucket close. Should your supply line freeze in winter, preventing a burst is crucial-see our expert advice on what to do about frozen pipes.
Mounting and Sealing the Toilet
With your pipes and supply line ready, it’s time for the heart of your DIY toilet installation:
- Position the wax ring. Warm the wax ring slightly for better malleability, then press it onto the toilet outlet or in place over the flange.
- Align the toilet bowl above the flange, carefully lowering it straight down over the closet bolts. Gently rock to compress the wax ring, forming an airtight, watertight seal.
- Secure the toilet with closet bolts. Alternate tightening nuts to ensure even pressure. Hand-tighten until snug (do not over-tighten!).
- Attach tank to bowl (for two-piece toilets) using new tank bolts, washers, and gasket. Use a level tool to double-check alignment before final tightening.
- Apply a bead of silicone sealant around the toilet base where it meets the floor. This not only improves stability but also prevents water seepage and odors.
If you notice the toilet rocking, stop! Shim the base and re-tighten bolts before proceeding. For guidance on integrating your toilet plumbing into broader bathroom remodels, see our tub plumbing guide.
Testing for Leaks and Final Adjustments
Meticulous leak testing is at the heart of leak prevention and long-term toilet performance. Follow these steps for thorough validation:
- Turn on the shut-off valve and fill the toilet tank. Inspect the supply line, fill valve, and shut-off valve connections for dripping or moisture.
- Flush the toilet several times. Watch the toilet base and flange area for seepage indicating a faulty wax ring or improper seating.
- Check the tank bolts, fill valve, and flush valve. Run your fingers along fittings and underneath the tank to detect leaks or condensation.
- Inspect floor area an hour after installation to confirm no leaks have appeared. Place dry tissue around the base to help highlight any hidden drips.
- Re-level and adjust as needed. If rocking or leaks are discovered, stop and correct immediately.
Pro tip: If you encounter persistent leaks that persist after repeated adjustments, you may need to replace the wax ring or flange. Keeping extra wax rings and plumber’s tape on hand can be a time-saver when troubleshooting.
Troubleshooting Common Issues
Even with careful installation, issues may arise. Here’s how to address frequent DIY toilet plumbing problems:
| Issue | Possible Cause | Solution |
|---|---|---|
| Toilet rocks or won’t stay level | Uneven floor or flange; loose closet bolts | Shim the base, check flange height, and evenly tighten bolts. Use a level tool to get the toilet perfectly aligned. |
| Water leaks at base | Poor wax ring seal; cracked flange | Remove toilet, replace wax ring (consider reinforced version), inspect and repair/replace flange. |
| Tank leaks at bolts | Worn bolts/gasket or improper installation | Tighten bolts evenly. Replace gasket and tank bolts if needed; avoid over-tightening. |
| Fill valve won’t shut off | Debris in valve; improper float adjustment | Remove cap, flush debris, and reset float as per manufacturer’s instructions. |
| Sewer smell persists | Missing or blocked vent pipe; dried out P-trap | Check vent connections; ensure P-trap is present and full of water. See our drain troubleshooting guide for severe odor or backup issues. |
Accidents such as burst pipes or sudden clogging can happen during a project-be ready to handle them by reviewing emergency steps for burst pipe repair and ways to manage clogged drains.