How to Install Plumbing Vents: Step-by-Step DIY Guide
Understanding Plumbing Vent Basics
Before diving into plumbing vent installation, it’s essential to grasp the principles behind venting. Plumbing vents, also known as vent pipes or vent stacks, allow air into your drainage system. This equalizes pressure, prevents siphonage of your traps, and stops sewer gases from entering the home. If you’ve ever faced issues like slow drainage or odd gurgling noises, improper venting could be the culprit.
- Main Functions of Plumbing Vents:
- Air Circulation: Promotes smooth flow in drain pipes.
- Pressure Equalization: Balances air pressure to prevent trap seal loss.
- Sewer Gas Expulsion: Directs dangerous gases outside through the roof.
- Key Vent Types:
- Vent Stack: The main vertical vent pipe running to the roof.
- Branch Vent: Runs horizontally, connecting individual fixtures to the stack.
- Loop Vent: Common under kitchen islands, forms a loop under the counter.
- Air Admittance Valve (AAV): A mechanical valve (e.g., Studer vent) used where traditional venting isn’t feasible.
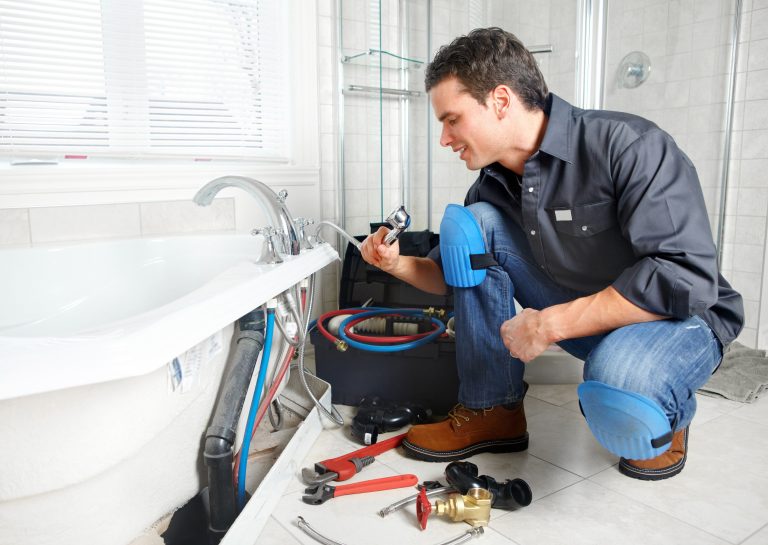
Getting venting right is as critical as sizing and installing toilet plumbing or a washing machine drain – mistakes may result in costly repairs or health hazards.
Planning Your Plumbing Vent System
Assessing Your System Requirements
The planning stage is crucial, as every DIY plumbing vent project must comply with local and national codes (IPC or UPC). Determine which code your area follows and note their differences, especially regarding vent pipe size, allowable distances from fixtures, and approved venting methods.
| Requirement | IPC (International Plumbing Code) | UPC (Uniform Plumbing Code) |
|---|---|---|
| Minimum Vent Pipe Diameter | 1.5″-2″ typically | 2″ minimum for most |
| Distance from Trap to Vent | Varies by pipe size and fixture | Often stricter limits |
| AAV Allowed? | Yes, with conditions | Sometimes not allowed |
Checklist for Planning:
- Basemap your house and mark all fixture locations (sink, toilet, shower, washer).
- Locate the main drain (often in the basement or crawlspace).
- Determine vent stack route: Does it need to go through the attic and roof, or can you use an AAV?
- Consult local code for plumbing code vent requirements on pipe diameter, permissible materials (PVC, ABS, cast iron), and necessary fittings (sanitary tee, directional fittings, couplings).
It’s often helpful to sketch a simplified schematic of your drain and vent system. Look for interference with trusses or attic obstacles when mapping the vent stack installation through upper floors. If you’re working near dishwashers or water heaters, you may want to refer to more targeted guides like how to install dishwasher plumbing or water heater troubleshooting.
Step-by-Step Plumbing Vent Installation
Step 1: Gather Tools and Materials
- Vent pipe (PVC, ABS, cast iron) with proper pipe diameter
- Fittings: couplings, sanitary tee, elbows, directional fittings
- Vent stack roof boot for roof vent boot installation
- Primer and glue (for plastic pipe)
- Deburring tool
- Drill/saw for attic/roof penetration
- Caulk or roof sealant
- Safety gear (gloves, goggles)
- Diagram or checklist (many municipalities require it for inspection)
Step 2: Dry Fit and Measure
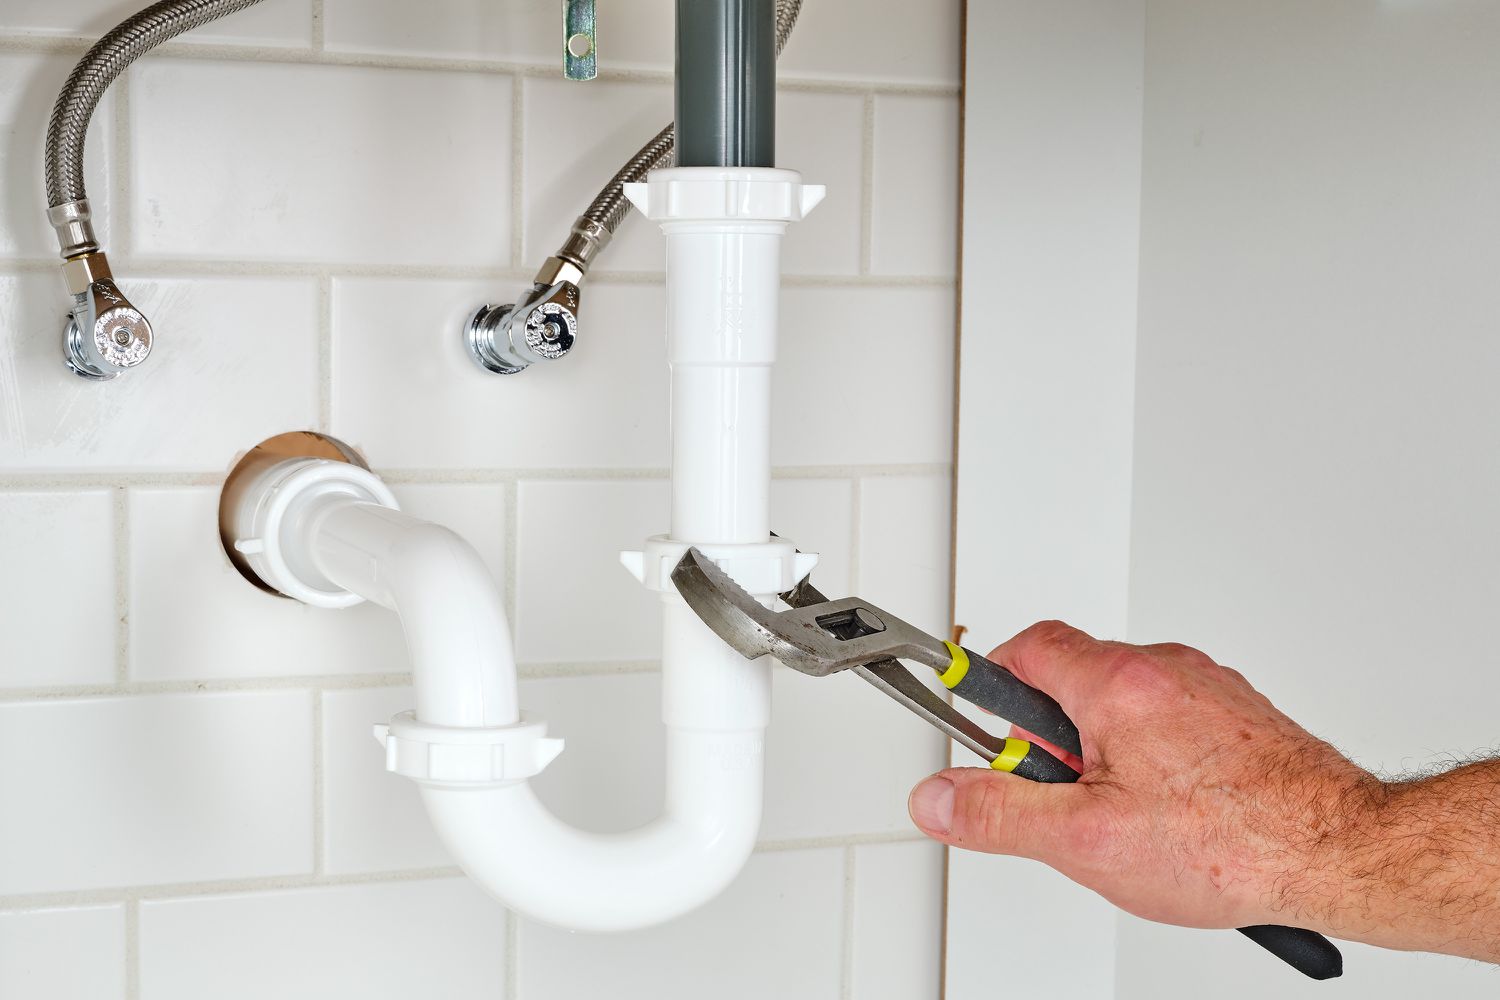
“Dry fitting” means assembling your system without glue to check alignment and fit. Begin at the upstream fixture – for example, the lavatory or shower trap arm. Attach the appropriate fitting (usually a sanitary tee) to intercept the trap arm, and map the course toward the vent stack.
Be mindful of these key technical terms:
- Trap arm: Horizontal pipe between fixture trap and vent connection.
- Flood rim: Top edge where water would overflow.
- Trap seal: Water held in the trap to block sewer gases.
Step 3: Cutting and Deburring
Cut vent pipes to length using a saw, then deburr the inside and outside edges. Burrs can catch debris and lead to blockages over time.
Step 4: Gluing and Assembling
Apply primer and glue to the pipe and fitting, then assemble. Hold each joint for a few seconds to ensure a solid bond. Work systematically from the fixture toward the planned stack location. Secure pipes to framing (studs or trusses) with appropriate hangers. Maintain the required upward slope for any horizontal branch vents-this helps prevent condensation and sediment buildup.
Step 5: Penetrating the Roof
Where your vent stack passes through the roof, use a quality roof vent boot installation kit. Cut a hole using the correct bit; the diameter should match your vent stack. Slide the flange of the roof boot under the upper shingle and over the pipe. Apply roofing caulk generously where the boot meets the roofing. If your roof has a steep pitch, special boots are available. Secure with nails and seal heads with additional caulk.
Step 6: Connecting to Main Stack or Drainage
Where multiple vents converge, use a wye or figure-5 fitting, ensuring proper orientation to promote air flow upward. At the base, the main stack should tie into the building drain below the lowest trap arm in the system. Double check all couplings and joints for a snug fit, and consult your local code for minimum distances above the flood rim where vents terminate.
Step 7: Supporting and Sealing
- Use pipe straps every 4-6 feet vertically
- Caulk all annular spaces where pipes pass through floors or walls
- Label the diagram for inspection
Special Venting Scenarios
Island and Loop Venting
Kitchen islands often present a challenge as they can’t be vented the standard way. In this case, a loop vent is installed beneath the counter, looping up as high as possible before returning down to join the drain line. Be sure to use sweep elbows and avoid sharp bends to prevent backpressure and siphonage.
Air Admittance Valve (AAV) Installation
If traditional venting to the roof isn’t possible, air admittance valve (AAV) installation is permitted by many codes. AAVs (e.g., Studer vents) open to admit air when the fixture drains, but close to keep out sewer gases. Proper installation involves:
- Mounting the AAV vertically, at least four inches above the horizontal branch drain
- Ensuring accessibility for future testing/replacement
- Following manufacturer and code instructions (some areas prohibit AAVs-always verify)
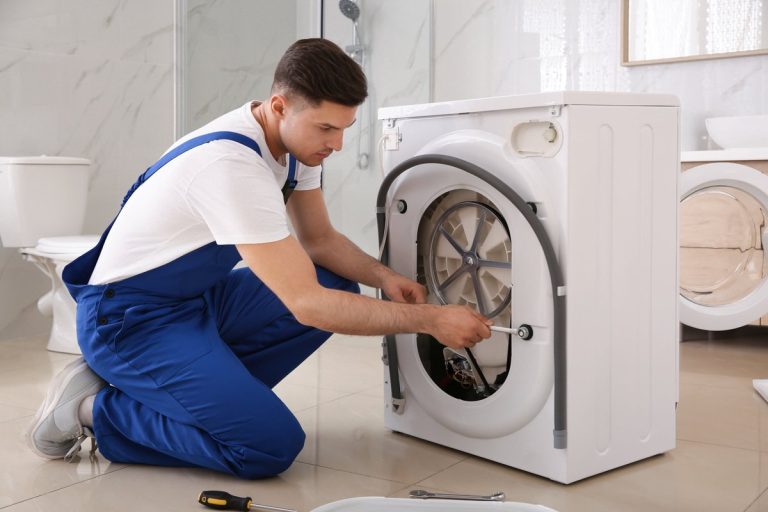
This method is popular in remodels, such as kitchen or laundry retrofits. For washing machine projects, see the step-by-step guide to washing machine drains for more context.
Testing and Inspecting Your Vent System
Inspection Tips
Before using the newly installed vent system, you’ll likely need to pass a municipal inspection. Most inspectors require:
- Vents terminate above the roof and the correct height (often at least 6 inches above the roof surface, higher in snow country)
- No unapproved reductions in pipe diameter
- Proper use of couplings, directional fittings, and roof boot
Testing Procedures
- Smoke Test: Common in larger projects; smoke is introduced into the system and watched for leaks at joints.
- Water Test: Water is filled up to the lowest vent fitting, and the system is checked for drops in water level or visible leaks.
If you notice persistent drainage problems even after a correct installation, check for possible cross-connections, blockages, or leaks at recently glued joints. Reference repair techniques for common issues in guides like what to do about persistent faucet or valve leaks.
Frequently Asked Questions
- Do all plumbing fixtures need venting?
Yes, with rare exceptions. Every fixture must be vented to protect the trap seal and keep sewer gases out. Even appliances like dishwashers benefit from correct venting (learn more here). - Can I use an air admittance valve for a toilet?
Sometimes, but many codes do not allow AAVs on toilets due to high risk if it fails. Always check your local regulations. For traditional methods, see the DIY toilet plumbing installation guide. - Why does my vent pipe need to exit above the roof?
To safely disperse sewer gases away from living spaces. The height ensures gases are not drawn back inside through windows or air intakes. - What is the minimum pipe size for venting?
This varies: Under the IPC, often 1.5″ is permitted for small fixtures, while the UPC commonly requires 2″ minimum. Always verify local code. - My vent stack is leaking through the roof. What should I do?
This is often a problem with the roof vent boot installation. Check the flashing, caulk, and shingle placement. Persistent leaks might require replacing the boot or consulting a professional.