How to Install Pool Plumbing: Step-by-Step Guide
Planning Your Pool Plumbing System
Proper pool plumbing installation begins with a strong planning phase. Designing your system and mapping out a pool plumbing diagram not only ensures efficienct water circulation but also helps prevent future problems such as leaks or inadequate filtration. Start by assessing your pool’s size, shape, and intended equipment, including the pool pump, filter, heater, and chlorinator.
- Draw a schematic: Sketch your proposed plumbing runs, including skimmer locations, main drain, return outlets, and the location of the equipment pad.
- Factor in future upgrades: Consider running extra pipes for features such as waterfalls or pool cleaners.
- Plan for efficient routing: Use the fewest elbows and fittings possible to reduce resistance, keeping lines straight and short.
- Code compliance: Research local building codes, especially regarding pipe depth, backflow prevention, and barrier requirements for safety.
For visual learners, creating a plumbing diagram or referencing templates can be invaluable. Downloadable diagrams and checklists can help you stay organized throughout the process. If you want more guidance for residential projects, you may also find helpful step-by-step content in guides on how to plumb a bathroom sink.
Gathering Tools and Materials
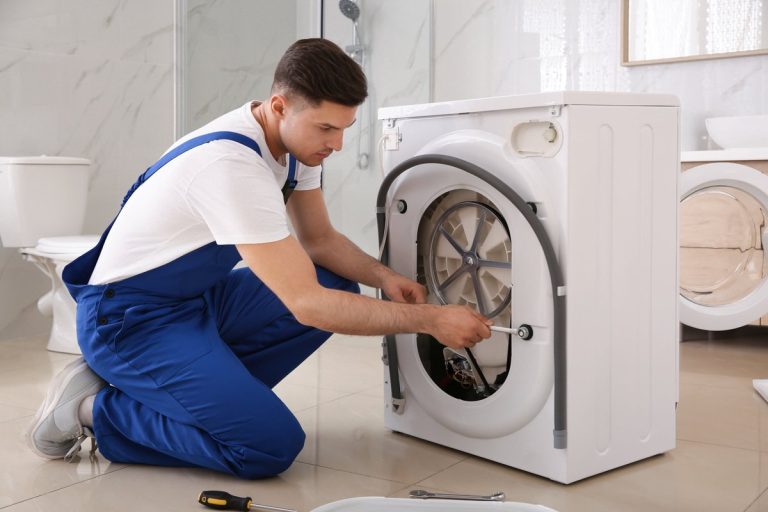
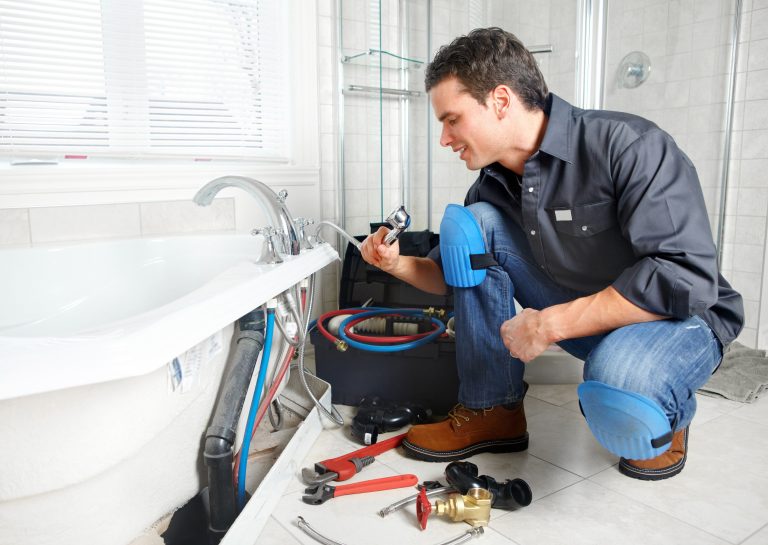
As you learn how to install pool plumbing, assembling the right tools and materials will make your project smoother and ensure lasting results. Here’s what you’ll typically need for PVC pool plumbing:
- Rigid or flexible PVC pipe (schedule 40 for most inground pools; schedule 80 for high pressure lines)
- PVC glue and primer for secure, watertight bonds
- Teflon tape for threaded fittings
- Pipe cutter or hacksaw
- Elbows, tees, valves (ball valves or diverter valves), and unions for easy maintenance
- Measuring tape and markers
- PVC heat-bend tool (for customized pipe routing)
- Pipe straps, clamps, and anchors to secure pipes
- Pressure test gauge to verify system integrity
- Excavation tools (trenching shovel or mechanical trencher) for in-ground pipe runs
Be sure to wear safety goggles and gloves when cutting or gluing PVC. Double-check that all materials are rated for outdoor and pool use.
Installing the Equipment Pad
The equipment pad is the heart of your pool’s plumbing. It’s where you’ll set the pool pump, filter, heater, chlorinator, and control valves. Begin by selecting a stable, level area close to the pool but outside normal traffic zones. Concrete is the preferred surface, but compacted pavers or solid gravel bases can work for above-ground pools.
- Mark out the pad: Ensure it’s large enough for all your equipment, with extra space for servicing or future expansion.
- Set equipment in order: Position the pool pump closest to the suction lines (from the pool’s skimmer and main drain), followed by the filter, heater, and other accessories.
- Install vibration pads or rubber feet: These reduce noise and pipe stress.
- Lay out pipes and valves: Plan for easy access to all valves for troubleshooting or maintenance.
- Include unions: At every major component, use unions for quick disconnection without cutting pipes.
Professional tip: Creating a labeled schematic of your equipment pad setup now will make future maintenance much easier. Review similar setup strategies in articles like water heater troubleshooting guides to learn about efficient layout and access.
Running and Connecting Pool Plumbing
This is where the bulk of the pool plumbing installation happens. Follow your pool plumbing diagram for precise pipe routing from pool return jets, skimmer, and main drain to the equipment pad.
Step-by-Step Pipeline Installation
- Trench and lay pipes: Dig trenches deep enough to comply with local frost lines and code guidelines-usually at least 12-18 inches. Lay rigid PVC for straight runs and flexible PVC for tight corners (minimizing the use of sharp elbows when possible).
- Dry fit everything: Assemble all pipes and fittings without glue first. Double-check measurements, slope (for drainage), and alignment with the equipment pad position.
- Glue and secure: Use PVC primer followed by glue; fit the pieces quickly and hold for 30 seconds. Wipe off excess glue promptly.
- Install valves and unions: Place shutoff valves at each suction and return line for future repairs. Use unions at each equipment connection.
- Backfill with care: After the glue cures, backfill gently with sand or fine soil. Avoid rocks that could crack pipes; tamp down slowly in layers.
Remember to heat-bend PVC only where needed, using a specialty tool to avoid kinking. Proper pipe support is crucial-secure pipes to prevent movement that could cause leaks later. For troubleshooting tricky bends, check advice in drain and sewer backup guides for creative solutions.
Testing and Troubleshooting Your Plumbing
Before you fire up the pool pump for the first time, always perform a pressure test to catch leaks early. Here’s how to confirm your PVC pool plumbing is watertight and ready for years of use:
- Plug all return and suction lines: Use expandable test plugs.
- Hook a pressure test gauge: Attach it to any exposed pipe’s threaded opening, using Teflon tape for a reliable seal.
- Pressurize with water or air: Pump to 15-20 PSI (per manufacturer specs).
- Monitor pressure for at least 30 minutes: A drop of more than 2 PSI indicates a leak.
- Locate leaks: Inspect joints and fittings, looking for wetness or bubbles (if using air).
If leaks are found, cut out affected areas, reglue with fresh primer and adhesive, and retest before backfilling. Persistent pressure loss? Troubleshoot with a step-by-step flowchart or reference plumbing resources like leaking valve solutions to hone your repair approach.
Common Troubleshooting Tips
- Low pressure at returns: Check for blockages or incorrectly installed check valves.
- Air in pump basket: Indicates suction leaks-inspect fittings at the equipment pad.
- Uneven water flow: Inspect for partially clogged pipes or improperly balanced valves.
If unexpected cold snaps threaten your new installation, learn how to winterize your system and prevent damage, much like you would when reviewing tips for protecting against frozen pipes.
Safety and Code Compliance
Every pool plumbing installation must meet safety and building code requirements-including pipe material, burial depth, and anti-entrapment devices for main drains. Key points:
- Electrical safety: Keep all plumbing at least five feet from power sources unless otherwise specified by local code.
- Anti-entrapment: Dual main drain systems or compliant covers are required by law to prevent suction accidents.
- Backflow prevention: Use check valves and air gap fittings as mandated.
- Pressure testing documentation: Some municipalities require signed verification before covering trenches.
If in doubt during pool equipment pad setup or plumbing installation, consult with a licensed pool contractor or local inspector. Many issues arise from rushing past these steps; similar challenges-and solutions-are discussed in resources about troubleshooting water heater problems.
Maintenance Tips for Long-Term Performance
Once your plumbing is installed, a few best practices will keep your pool running efficiently and extend equipment life:
- Regular inspections: Look for wet spots, low pressure, or air in the pump basket monthly during peak season.
- Flush lines seasonally: Use a reverse-flow method before winter to clear debris.
- Lubricate O-rings and unions: This prevents leaks and keeps valves moving freely.
- Check for valve drips or faucet leaks: Early intervention can prevent major repairs. See how to stop leaks if they occur at connection points.
- Test and clean filters frequently: Clogged filters increase system strain.
- Document changes: Update your plumbing diagram and keep records of repairs or additions for future troubleshooting or upgrades.
If you find a drain or sewer backup affecting your pool’s operation, reference drain backup troubleshooting articles for targeted solutions.